
Getting Started with EmbedStudio
Install EmbedStudio, look around with a ready-made example, then activate the free license and capture variables from your own target.
- To exploreJust the download, no account
- To captureFree license (needs an account)
- To captureSupported debug probe + firmware ELF with debug information
Install and start EmbedStudio
1.Install EmbedStudio
Download the latest release from the download page and unpack it. Releases are published as a zip archive for Windows (x64) and a tar.gz archive for Linux (x64).
2.Open EmbedStudio
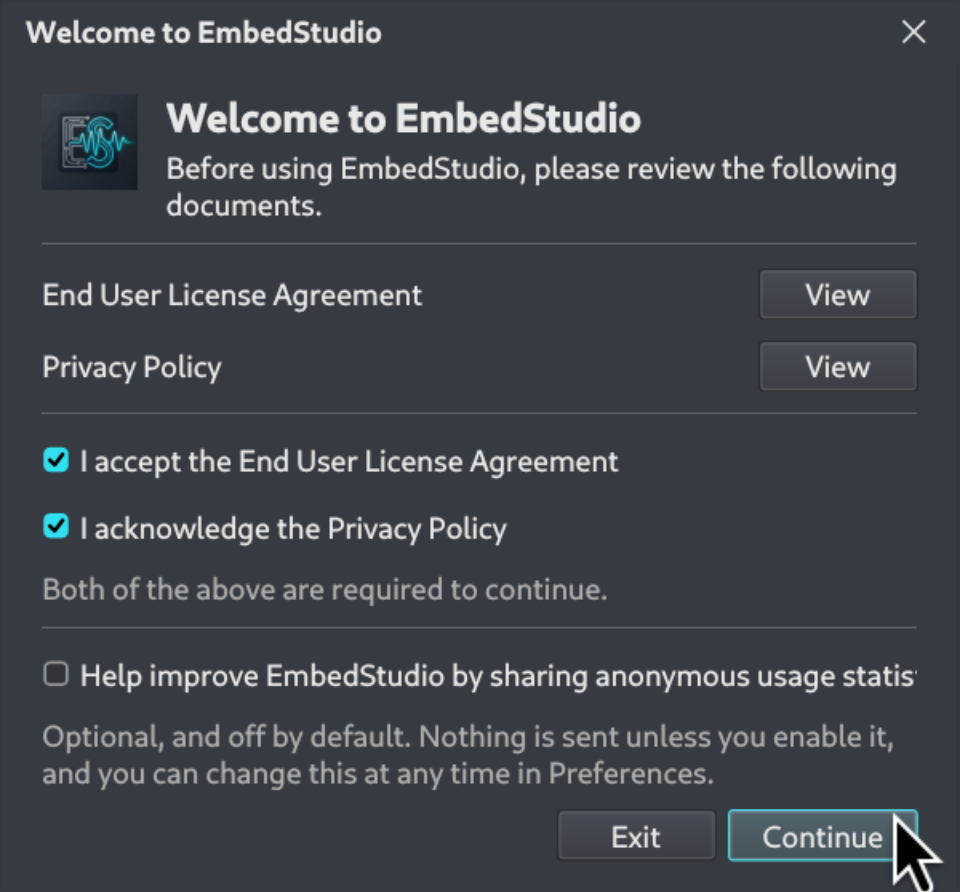
Start EmbedStudio from the unpacked folder. The first time, you are asked to accept the license agreement and acknowledge the privacy policy; both can be read in the dialog. Sharing anonymous usage statistics is optional and off by default.
3.The first window
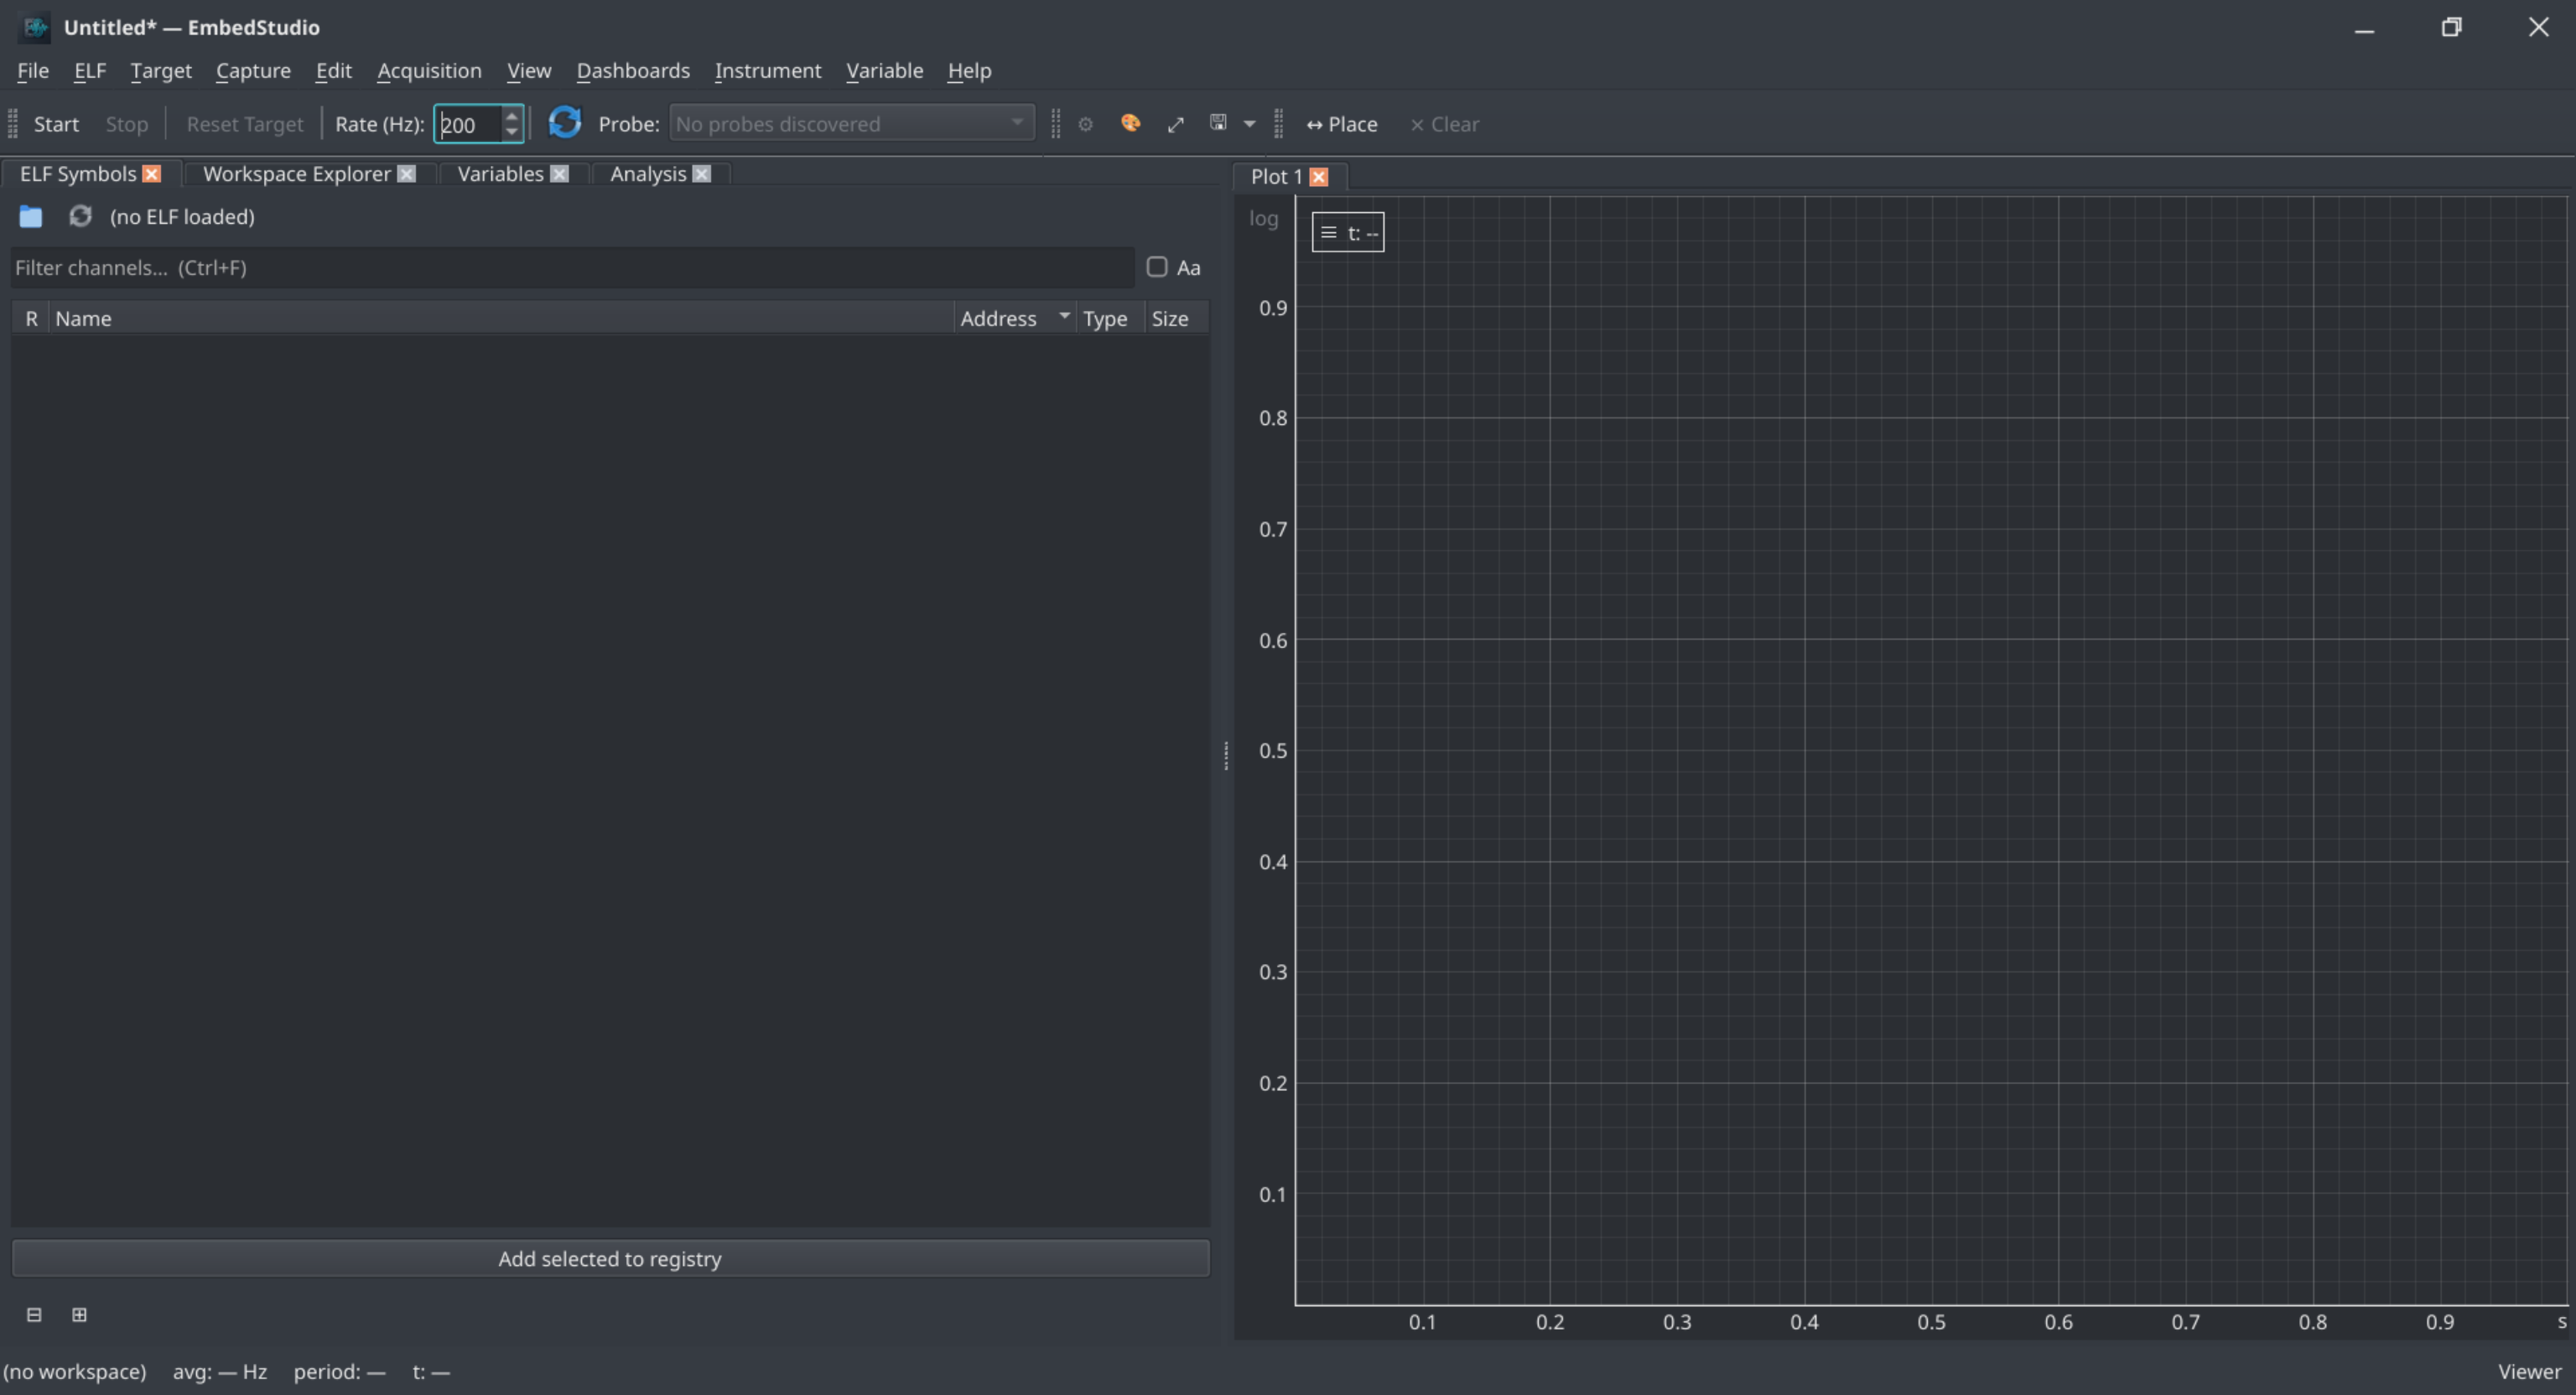
A fresh window looks like this:
- A dashboard named Dashboard 1 already holds an empty plot named Plot 1.
- The toolbar carries Start, Stop, the sample rate and the Probe list.
- The Probe list reads “No probes discovered” until a probe is connected.
- The status bar reads Viewer: EmbedStudio runs without a license, and that is all the next guide needs.
Choose where to start
The guides build on each other, but the first needs nothing but the download.
-
Open an Example Capture
The quickest way to get a feel for EmbedStudio: open the example that comes with it and look at real firmware data. It works without registering anywhere.
You need: EmbedStudio installed and started. No registration, account, license, probe or ELF file needed: opening a capture works in the unlicensed Viewer.
-
Activate the Free License
Capturing variables needs a license. The Free license costs nothing and takes your account, a machine ID and one file.
You need: EmbedStudio installed, and an account on this website with a confirmed email address, already signed in. Registering and confirming the address by the link in the verification email come first; this guide starts after that. A license is tied to one computer, so do this on the computer you will use EmbedStudio on.
-
Capture a Variable
Connect a supported target, load your firmware and watch a variable in real time.
You need: EmbedStudio installed; the Free license installed (see Activate the Free License); a supported debug probe with its drivers installed (on Linux, the USB access rules for the probe); and a firmware ELF file with debug information, built from the firmware that is flashed on the target.
Ready to Build Your Own Dashboards?
Download EmbedStudio and start exploring your firmware variables.